
Builds & upgrades
Azeroth Survivors Paladin Build: Damage and Survival Choices
For a developed Paladin, the recorded Consecration plan uses area damage for packs and Exorcism for single targets, with jewelry chosen around damage or healing needs. Holy Shield offers a separate retaliation idea when mitigation and recovery support it. Neither approach makes a fresh Paladin automatically safe to stand still.
Choose which interaction you are pursuing before copying talents. The original v0.120.4 menu capture from October 27, 2026 shows a fresh Human Paladin with 245 health, Consecration, empty equipment slots and zero talent points. Mature Naxxramas footage begins much further along.
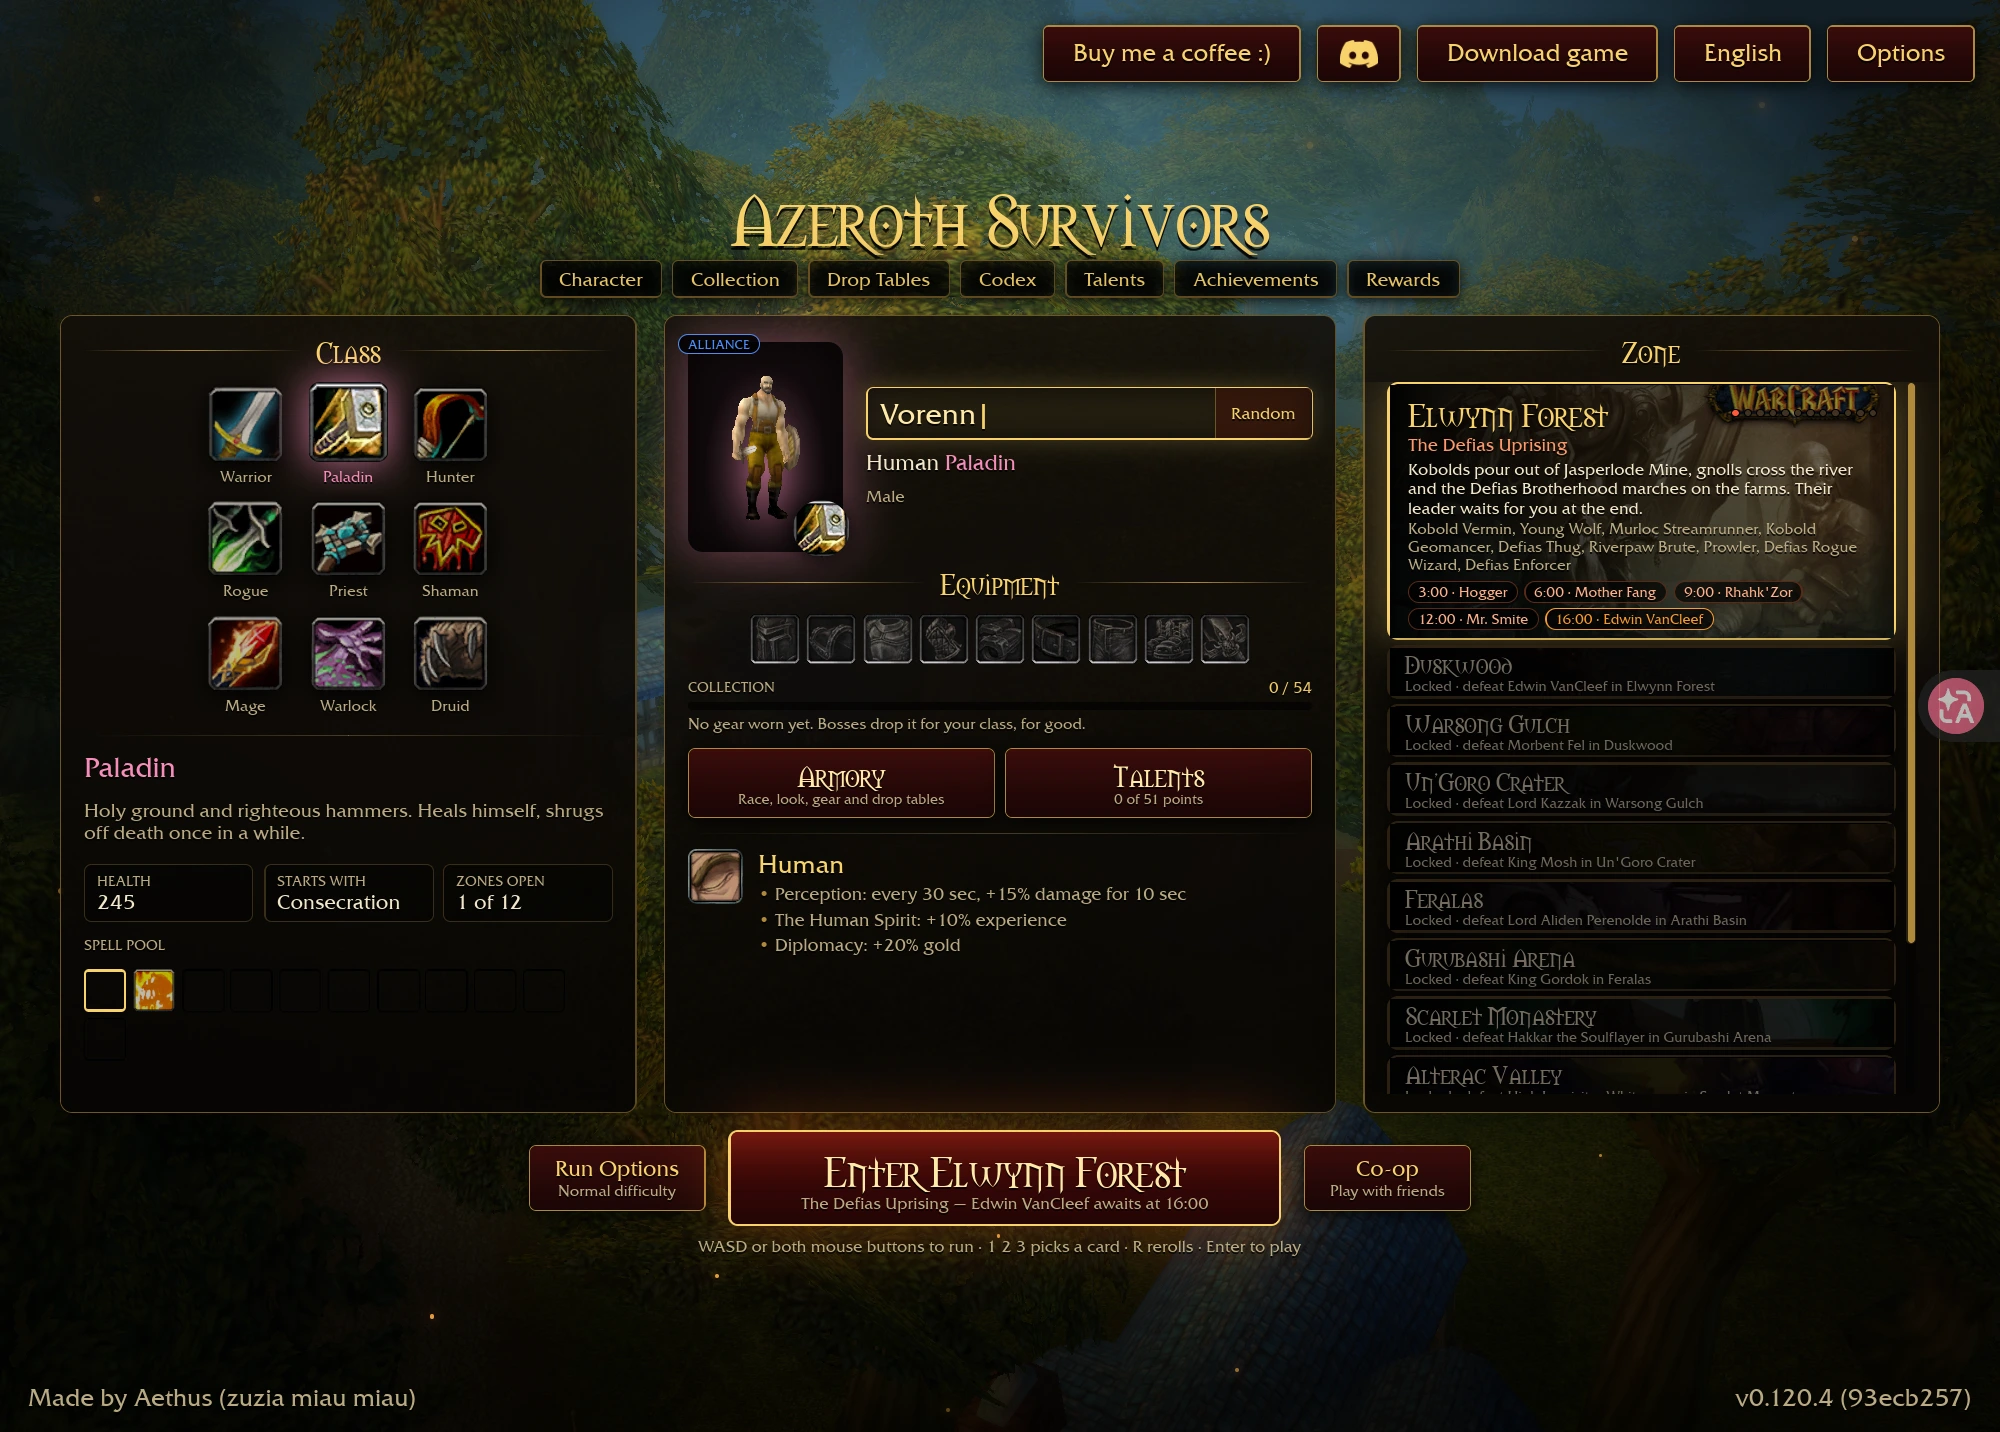
Pick a direction without mixing its prerequisites
| Direction | Main idea | Necessary caution |
|---|---|---|
| Consecration and Exorcism | Cover packs while retaining a spell for bosses | The key necklace may never appear. |
| Holy Shield retaliation | Damage attackers while reduction and healing support survival | Finding Holy Shield alone does not complete the interaction. |
| Fresh-character development | Build from Consecration and the choices actually available | Account bonuses, talents and gear change what a video demonstrates. |
Holdherhand's Protection Paladin guide from 0:20 is the main developed-character example here. Its recording version is unknown, and it is not a controlled comparison with other Paladin routes.
Clicking play connects to YouTube. Watch on YouTube ↗
What the Protection example actually specifies
The spoken allocation is 31 Protection and 13 Holy. The Holy investment provides an early Holy Shock contribution to clearing, healing and sustain. Those totals identify 44 points, leaving seven points unspecified. They should not be presented as a complete 51-point tree or a leveling sequence.
The later spell plan at 1:52 narrows upgrade offers around Consecration, Exorcism and Divine Shield after banishing some early support choices. Match the current skill names and effects in your own game before using a banish; the recording does not supply a fixed card order.
Its useful decision rule is straightforward:
- Packs are the problem: favor useful Consecration upgrades.
- A single target is the problem: favor useful Exorcism upgrades.
- Health keeps falling: reassess recovery and incoming damage before adding more enemies.
The first two decisions come directly from the creator's explanation at 2:12. The third is a practical survival check, not a promise that one defensive card fixes every encounter.
Jewelry choices and a missing necklace
| Slot | Holdherhand's preference | How to adapt |
|---|---|---|
| Necklace | Consecration-related legendary | He also discusses Exorcism, a different defensive direction and general luck options. |
| First ring | Cooldown reduction | Read its actual offered improvement. |
| Second ring | Damage or healing | Choose according to the shortfall you currently have. |
| Trinkets | Luck and experience | Damage, recovery or other effects are discussed as alternatives. |
These are creator preferences from 0:36 to 1:50. The experience trinket's value in this build is the author's assessment, rather than an established universal priority.
The important outcome is that this run never gets its intended Consecration necklace. Holdherhand says so at 19:12. He continues with the available build rather than demonstrating the promised necklace in action.
His later comparison uses a different Arathi Basin attempt: about 28,000 kills in 18 minutes, versus about 14,000 in the displayed run. Different runs and conditions prevent those results from establishing a fixed damage multiplier. Use the comparison to understand dependence on an accessory, not to predict your next score. Keep run jewelry and permanent gear separate when checking prerequisites.
Holy Shield needs more than retaliation
Whiter's historical explanation combines three parts: Holy Shield retaliation, damage reduction and healing equipment. Retaliation supplies damage while mitigation and recovery help the character survive contact. The supporting effects matter as much as obtaining the spell.
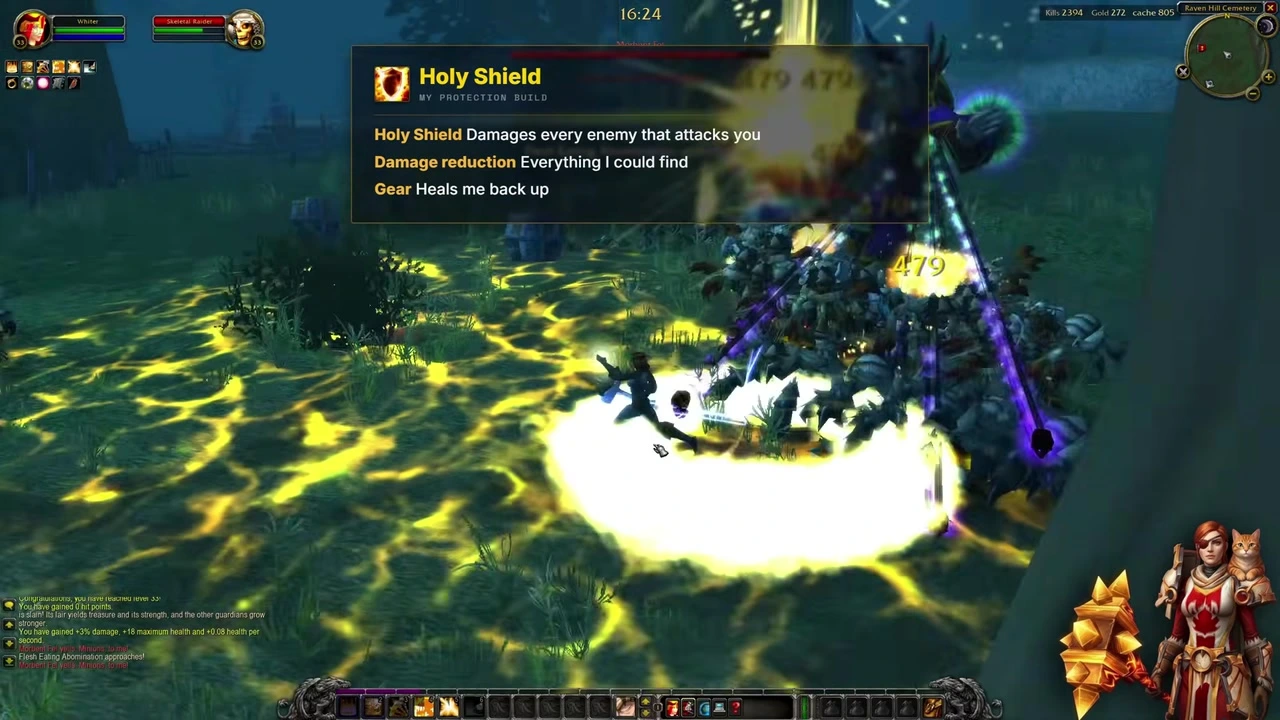
This frame is from Duskwood, with the creator's explanatory overlay; it is not a fresh-character Elwynn Forest test. See Whiter's original explanation at 6:59, with the illustrated frame around 7:16. The recording build remains unknown.
If your health keeps dropping while assembling those parts, keep moving. Do not remove your ability to dodge simply because a retaliation spell benefits from being attacked. The secondary Holy Shield explanation also distinguishes a separate failed first-look attempt from the showcase.
Adapt after a failed attempt
GottaBlast's longer Paladin recording is useful for its changing conditions. The character is fresh in levels but already benefits from 40% additional experience from other progress. The first attempt dies around 3:37, and a later Duskwood experiment dies at 45:34 before another retry develops differently.
That makes a better comparison question: did your next attempt change gear, talents, survival, damage choices or the item you were relying on? Change your conclusion when those conditions change; do not treat one success as evidence that the same incomplete combination is safe.
Also check the trigger on a necklace. In GottaBlast's Consecration discussion from 57:08, the explosion depends on Consecration getting the kill. Later he worries another spell is taking the finishing blows. A strong accessory can contribute less than expected when its condition is not being met.
Keep combat readable
Overlapping ground effects can hurt visibility and performance. Holdherhand describes the Options → Graphics spell-effects toggle at 22:50. Check your version's setting, and account for the visual information hidden with those effects.
Use the damage meter for the question you are answering: boss progress, overall clear or recovery. Then return to talents or the build selector to adjust the part that is actually limiting your run.